Git DRS — Quick Start
Git DRS extends Git LFS to register and retrieve large data files from DRS-enabled platforms while keeping the familiar Git workflow. Use Git LFS for file tracking, fetching, and local cache management. Use Git DRS to configure the DRS server connection and manage cloud-backed object references for your repository.
Relationship to Git LFS
git-drs is built on top of Git LFS. It uses the same clean and smudge filter architecture, the same .gitattributes tracking patterns, and a compatible pointer file format. If you already know git lfs track and git lfs pull, the git drs equivalents will feel natural.
Prerequisites
Before installing Git DRS, you need Git and Git LFS installed and configured on your system.
Install Git
Visit https://git-scm.com to download and install Git for your operating system.
Install Git LFS
Install using Homebrew
brew install git-lfs
Install via Package Manager
sudo apt-get install git-lfs
sudo yum install git-lfs
sudo dnf install git-lfs
Download and Run Installer
Download the latest Git LFS Windows installer and follow the setup instructions.
Initialize Git LFS
Run the following command in your terminal to complete the setup:
git lfs install --skip-smudge
Tip
The --skip-smudge option prevents automatic downloading of all LFS files during clone/checkout, giving you control over which files to download.
For more details, see Getting Started with Git LFS on GitHub Docs.
Install Git DRS
Use the project installer after Git LFS is installed:
/bin/bash -c "$(curl -fsSL https://raw.githubusercontent.com/calypr/git-drs/refs/heads/main/install.sh)" -- $GIT_DRS_VERSION
Update PATH
Ensure git-drs is on your path:
echo 'export PATH="$PATH:$HOME/.local/bin"' >> ~/.bash_profile
source ~/.bash_profile
Download Gen3 API Credentials
To use Git DRS, you need to configure it with API credentials downloaded from the Profile page.
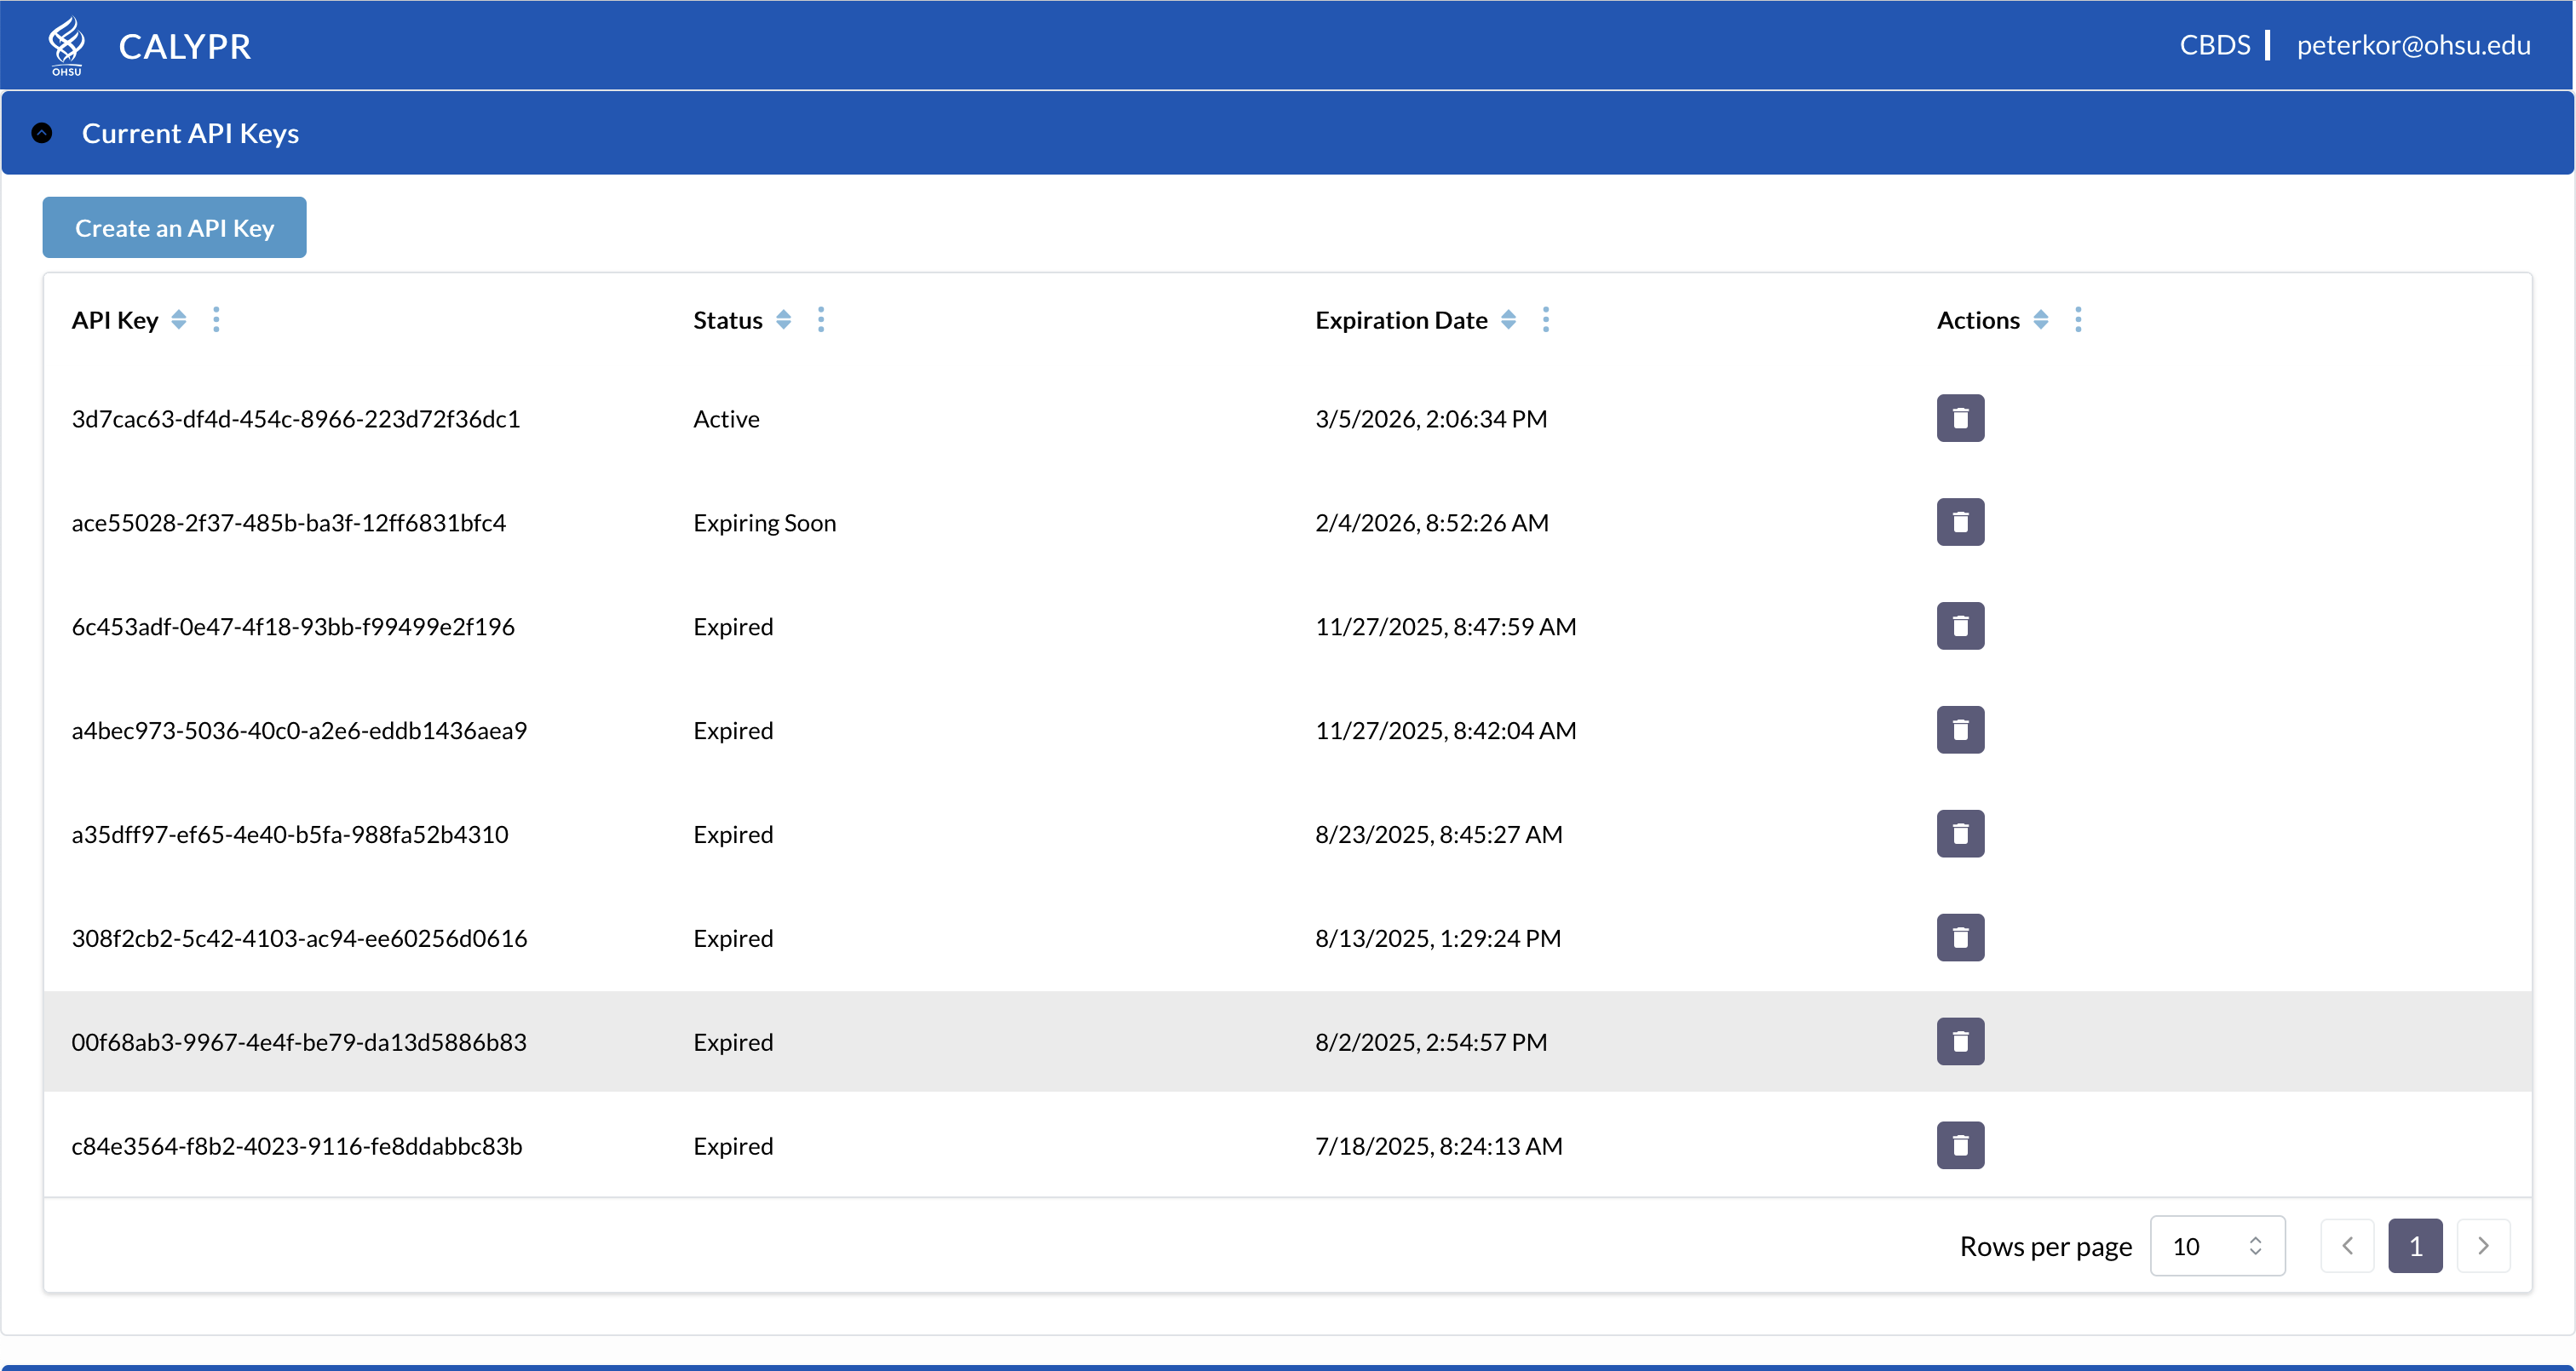
- Log into the Gen3 data commons at https://calypr-public.ohsu.edu/
- Navigate to your Profile page
- Click "Create API Key"

- Download the JSON credentials file
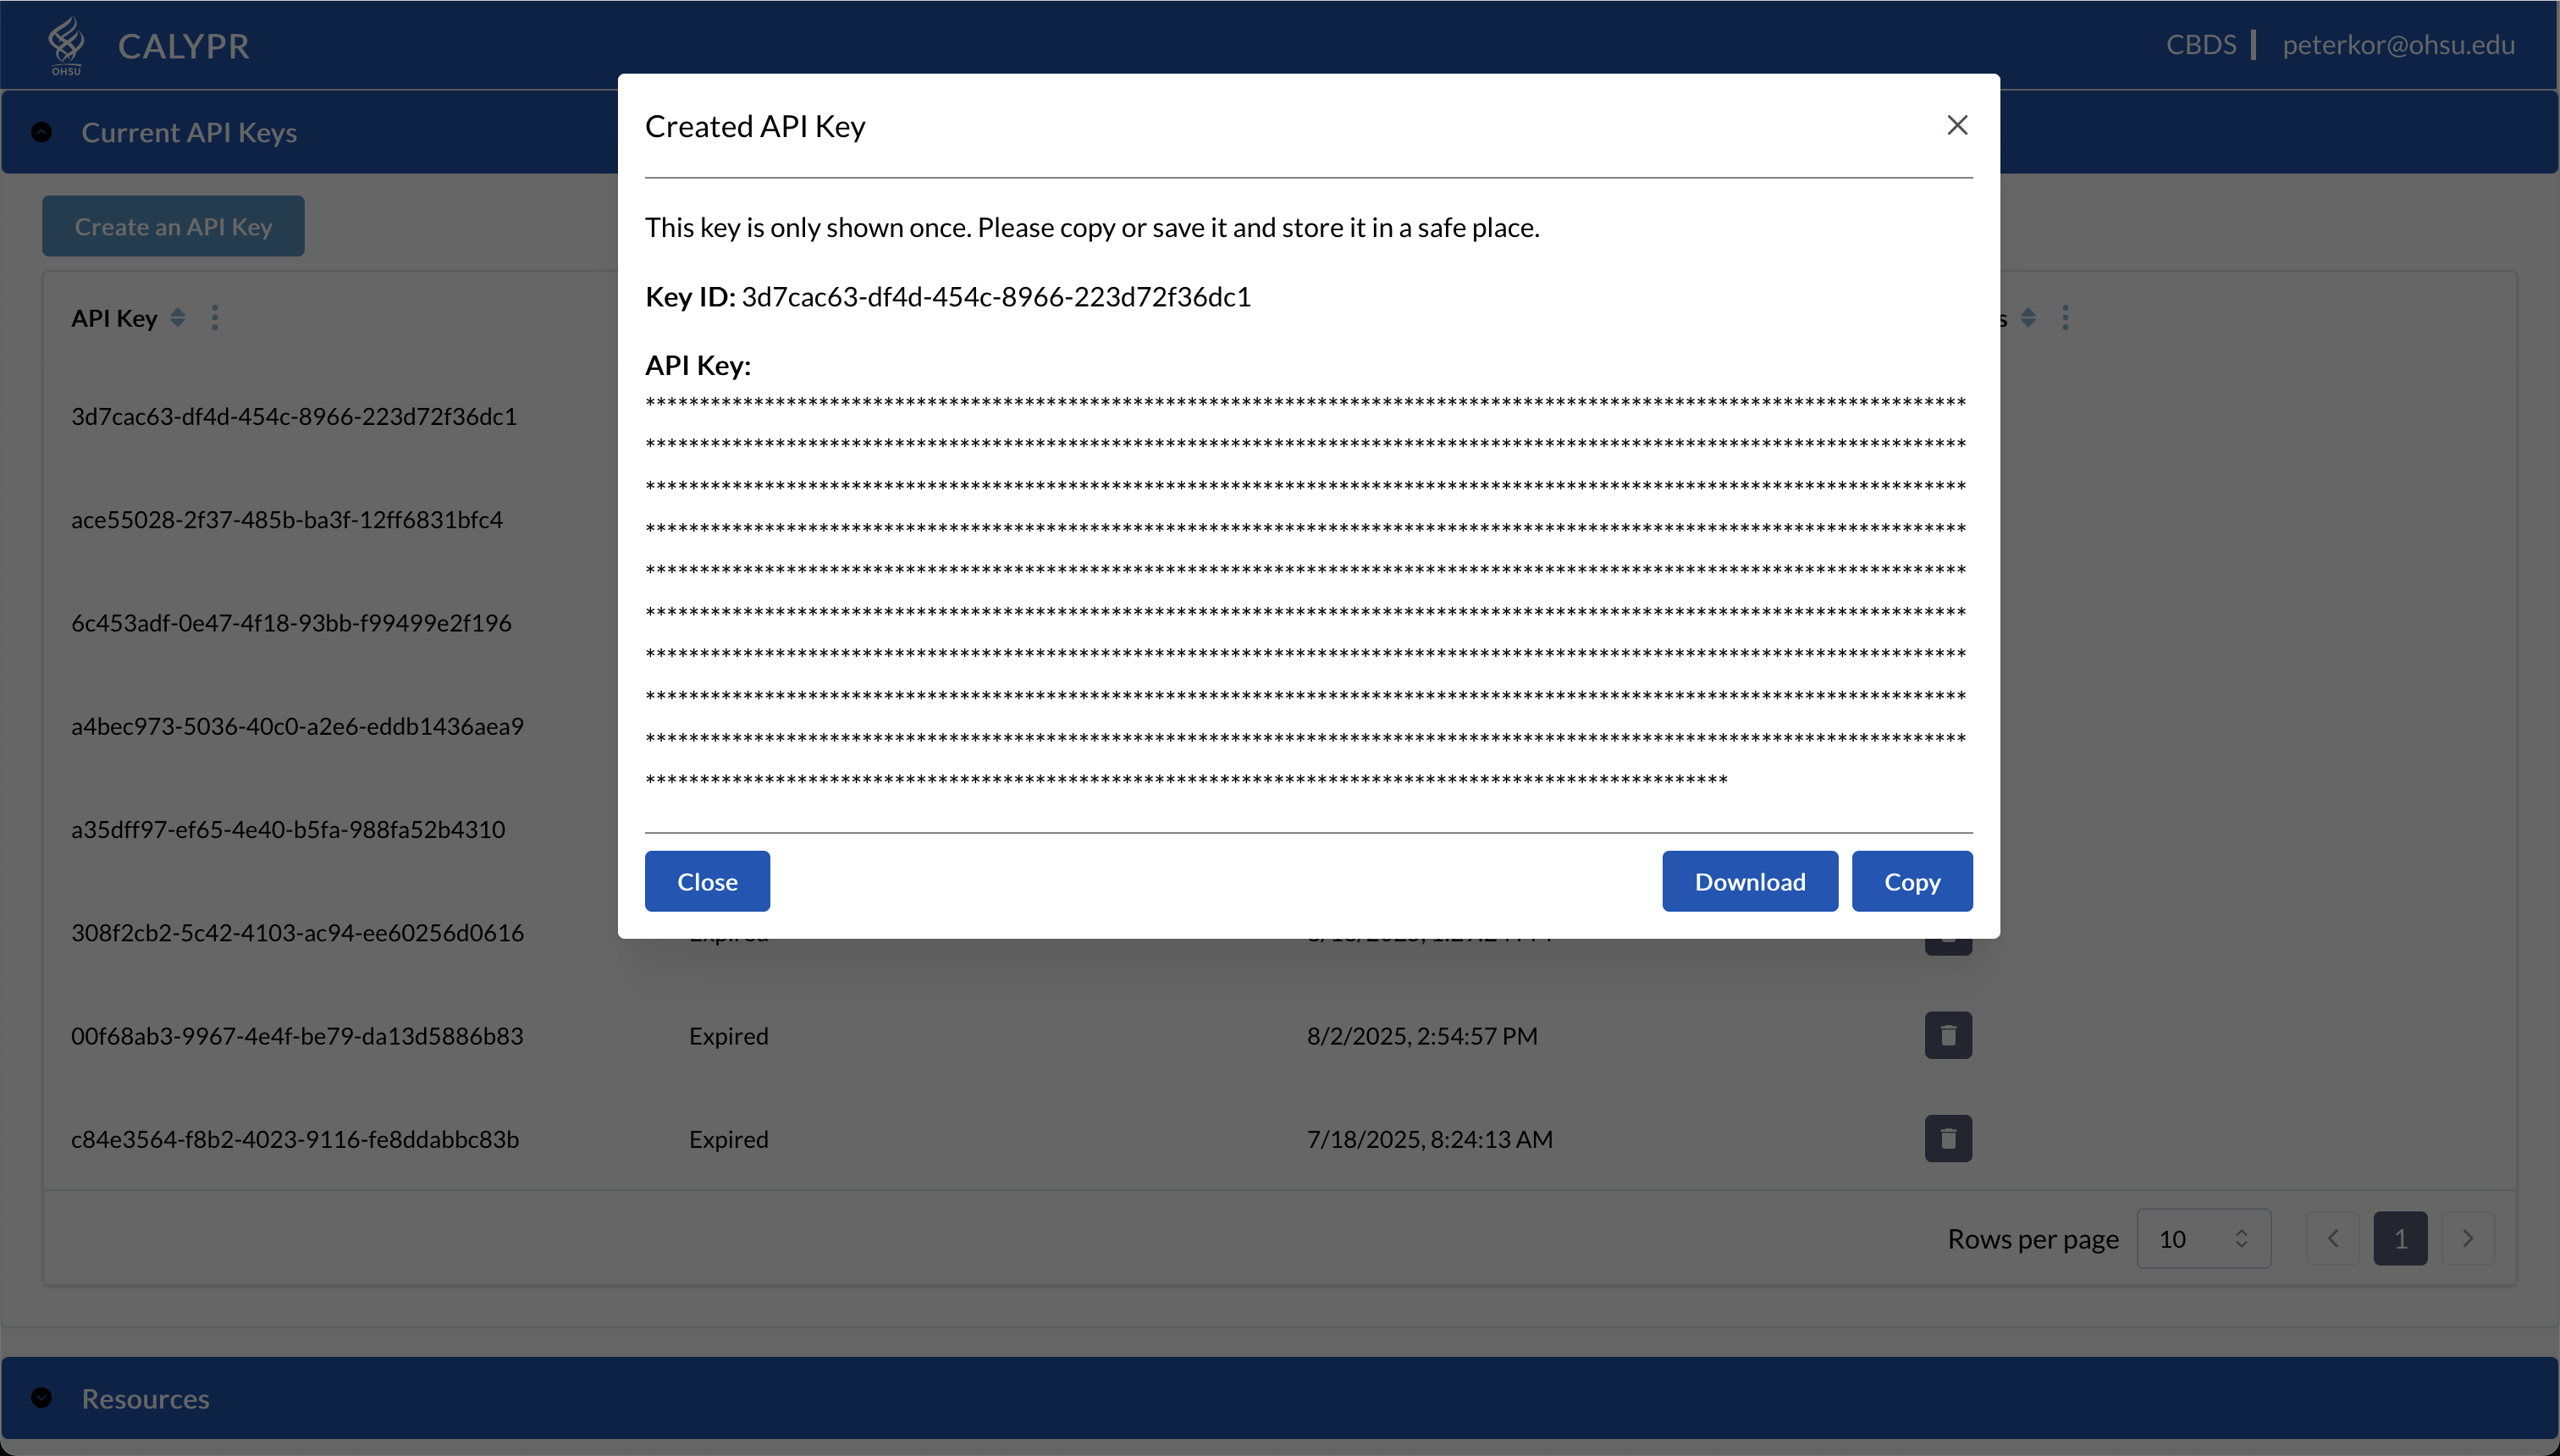
- Save it in a secure location (e.g.,
~/.gen3/credentials.json)
Credential Expiration
API credentials expire after 30 days. You'll need to download new credentials and refresh your Git DRS configuration regularly.
New Repository Setup
If you're creating a new project or setting up a repository for the first time:
1. Clone or Create Repository
git clone https://github.com/your-org/your-data-repo.git
cd your-data-repo
Or create a new repository:
mkdir MyNewCalyprProject
cd MyNewCalyprProject
git init
2. Initialize Git DRS
git drs init
This configures Git hooks and prepares the repository for DRS-backed files — similar to running git lfs install at the repo level.
3. Get Project Details
Contact your data coordinator at support@calypr.org for:
- DRS server URL (e.g.,
https://calypr-public.ohsu.edu) - Project ID (format:
<program>-<project>) - Bucket name
4. Add Remote Configuration
git drs remote add gen3 production \
    --cred /path/to/credentials.json \
    --url https://calypr-public.ohsu.edu \
    --project my-project \
    --bucket my-bucket
Note
Since this is your first remote, it automatically becomes the default. No need to run git drs remote set.
5. Verify Configuration
git drs remote list
Output:
* production gen3 https://calypr-public.ohsu.edu
The * indicates this is the default remote.
Directory Structure
An initialized project will look something like this:
<project-root>/
├── .gitattributes
├── .gitignore
├── META/
│   ├── ResearchStudy.ndjson
│   ├── DocumentReference.ndjson
│   └── <Other FHIR>.ndjson
├── data/
│   ├── file1.bam
│   └── file2.fastq.gz
Track, Add, Commit, and Push
Track Large Files with Git LFS
Use Git LFS to select which files should be stored as LFS objects. Git DRS works with the tracking patterns you configure via Git LFS:
git lfs track "*.bam"
git add .gitattributes
git commit -m "Track BAM files with Git LFS"
For more details, see the Git LFS tracking documentation.
Add, Commit, and Push Data
Once files are tracked with Git LFS, use standard Git commands to add and commit. During git push, Git LFS uploads large objects to the LFS server while Git DRS automatically registers them with the configured DRS server via its pre-push hook.
# Add your file
git add myfile.bam

# Verify LFS is tracking it
git lfs ls-files

# Commit and push
git commit -m "Add data file"
git push
What Happens Behind the Scenes
The git push triggers Git LFS transfer hooks. Git DRS intercepts this flow to register each LFS object with your DRS server (e.g., gen3/indexd), making the file discoverable via DRS IDs. You don't need to run any extra commands. The process:
- Git DRS creates DRS records for each tracked file
- Files are uploaded to the configured S3 bucket
- DRS URIs are registered in the Gen3 system
- Pointer files are committed to the repository
For background on the Git LFS transfer flow, see the Git LFS overview and the Git LFS push documentation.
Download Files
Use Git LFS to download files on demand:
# Download all files
git lfs pull

# Download specific pattern
git lfs pull -I "*.bam"

# Download specific directory
git lfs pull -I "data/**"
Refer to the Git LFS pull documentation for filters and options.
Check Status and Tracked Files
To see which files are tracked and their status, rely on Git LFS tooling:
git lfs ls-files
The Git LFS ls-files documentation explains the available flags and output format.
Clone an Existing Repository
When you clone a repository that already uses Git DRS, the repo will contain small pointer files instead of full file content. You need to install Git DRS, initialize it in the clone, configure the DRS remote, and then pull file content.
Step 1 — Clone the Repository
Clone as you normally would. Git LFS pointer files are checked out automatically, but large file content is not downloaded yet.
git clone https://github.com/your-org/your-data-repo.git
cd your-data-repo
Skip LFS Downloads During Clone
If you want to skip downloading any LFS content during clone (useful for large repos), use the GIT_LFS_SKIP_SMUDGE environment variable:
GIT_LFS_SKIP_SMUDGE=1 git clone https://github.com/your-org/your-data-repo.git
See git lfs install --skip-smudge for details.
Step 2 — Initialize Git DRS
Run git drs init inside the cloned repo to configure the DRS hooks and filters:
git drs init
Step 3 — Configure the DRS Remote
Set up the DRS server connection. Your team or project documentation should provide the server URL, credentials, project, and bucket:
git drs remote add gen3 production \
    --cred /path/to/credentials.json \
    --url https://calypr-public.ohsu.edu \
    --project my-project \
    --bucket my-bucket
Note
This step is required even if the original repository author already configured a DRS remote — remote configurations are local to each clone and are not committed to Git.
Step 4 — Pull File Content
Download the actual file content using Git LFS:
# Pull all LFS-tracked files
git lfs pull

# Or pull specific files by pattern
git lfs pull -I "*.bam"
Refer to the Git LFS pull documentation for filters and options.
Step 5 — Verify
Confirm that pointer files have been replaced with full content and that DRS-tracked files are recognized:
git lfs ls-files
A * next to a file indicates its content is present locally. A - means only the pointer is checked out.
Quick Reference
# Full clone workflow — copy and paste
git clone https://github.com/your-org/your-data-repo.git
cd your-data-repo
git drs init
git drs remote add gen3 production \
    --cred /path/to/credentials.json \
    --url https://calypr-public.ohsu.edu \
    --project my-project \
    --bucket my-bucket
git lfs pull
git lfs ls-files
Managing Remotes
Add Multiple Remotes
You can configure multiple DRS remotes for working with development, staging, and production servers:
# Add staging remote
git drs remote add gen3 staging \
    --cred /path/to/staging-credentials.json \
    --url https://staging.calypr.ohsu.edu \
    --project staging-project \
    --bucket staging-bucket

# View all remotes
git drs remote list
Switch Default Remote
# Switch to staging for testing
git drs remote set staging

# Switch back to production
git drs remote set production

# Verify change
git drs remote list
Cross-Remote Promotion
Transfer DRS records from one remote to another (e.g., staging to production) without re-uploading files:
# Fetch metadata from staging
git drs fetch staging

# Push metadata to production (no file upload since files don't exist locally)
git drs push production
This is useful when files are already in the production bucket with matching SHA256 hashes. It can also be used to re-upload files given that the files are pulled to the repo first.
Command Quick Reference
| Action | Command |
|---|---|
| Initialize | git drs init |
| Add remote | git drs remote add gen3 <name> --cred... |
| View remotes | git drs remote list |
| Set default | git drs remote set <name> |
| Track files | git lfs track "pattern" |
| Check tracked | git lfs ls-files |
| Add files | git add file.ext |
| Commit | git commit -m "message" |
| Push | git push |
| Download | git lfs pull -I "pattern" |
| Fetch from remote | git drs fetch [remote-name] |
| Push to remote | git drs push [remote-name] |
| Query DRS object | git drs query <drs-id> |
| Check version | git drs version |
Further Reading
- Troubleshooting — Common issues and solutions
- Developer Guide — Architecture, command reference, and internals
- Git LFS Official Site
- Git LFS Man Pages — Complete command reference
- Git LFS Specification — Pointer file format and protocol
- Git LFS Custom Transfer Agents — How Git DRS hooks into the LFS transfer flow
- GitHub Docs: About Git Large File Storage
- Git Attributes — Clean & Smudge Filters